STAGE 1 – Getting Started
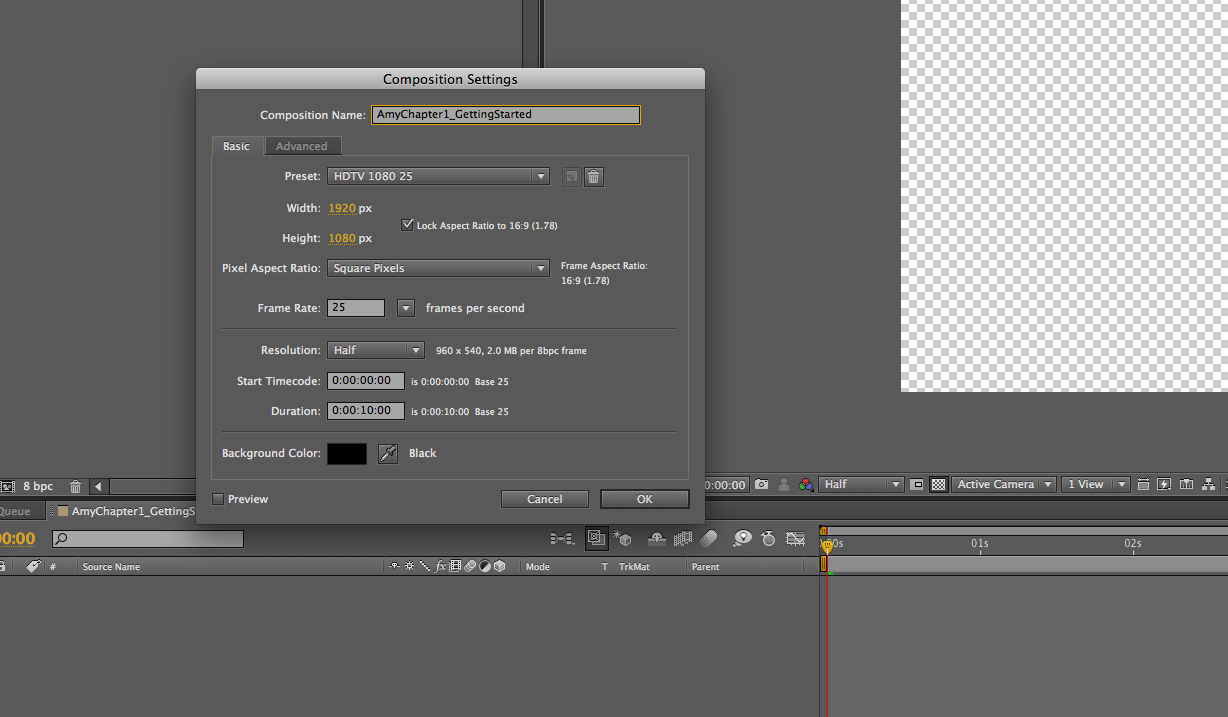
After watching the introduction from Ian Robinson I downloaded the Asset
Files, which unfortunately weren’t compatible with my version of After Effects.
I decided to experiment with some of the presets that were in the file and work
around the problem whilst still creating the desired composition at the end.


To add a more stylized look for my animation. I created a background
vignette which gives a much more professional look to my work. I then decided
to organize each individual layer by colour coordination to keep my work
organized and practical for my work space.
YELLOW – SOLIDS
YELLOW – SOLIDS
BLUE – GRAPHICS


I then added a customized text layer to use, then applied an ‘outer glow’ effect using drop shadow and by changing it’s setting I could try different versions of the effect I could use.


To get used to key framing, I created a
little path to animate. Once I knew how key framing worked I went back and
created something more visually pleasing.
Then, to get into the use of the 3D layer
function, I created the text layer of my name to have a swinging motion using key
frames.
After liking the basic after effects, I
decided to render it using a h.264 codec to be uploaded to my blog as evidence
of my progress.


Overall I found the first chapter of this tutorial helpful and informative. I had to experiment with the files that were available to me to create my animation piece. This made me experiment more and more away from copying the tutorial step by step.
No comments:
Post a Comment